Sunday, December 30, 2012

Quilling


Hi everyone

Today is 30th December 2012. The 2nd last day of year 2012.
Have you think what to accomplish in year 2013? I have written mine - is a long list... >_< but..... I can manage it. Have to break it into small component & I will achieve it. ^_^

I have been quilling for these 3 days. Went through the basic quilling & my latest quilling is about Malaysian Flower. I have been practicing to get the best result & I really accomplished it.

Despite of quilling, I also learned to mix & match the color using the color theory. It is fun of doing it.

Here is my photos for you to view. It is lovely, isn't it?


Thursday, December 27, 2012

Malaysian Flower

Hi everyone

This is my latest creation.

It's Malaysian Flower which I am still mastering it.
Previously, I stick it on ice cream stick to use as a bookmark as shown in below picture.
It is in the wired pen holder on the right side.

https://blogger.googleusercontent.com/img/b/R29vZ2xl/AVvXsEg_-dOGpAR4v1IJGSwpxY81G__uMkc_lco_K13hyYo5UGFfR_PTEqS3jPAnJKKSqJ_GxedDP7G78_2SnADJ5KBXG1oUUGsFZvlILfjPX5-PHrJiRwryl5qGhsLi7g2Rcv68iEhIK8yuxcU/s1600/DSC03357.JPG


Since I am too brave enough (hahah..just a try & experiment things here), I stick a theme of Malaysian Flower in Black & Red. It is so elegant to look at it. 

Recipes:
1. Canvas board as based 
2. Pink Paislee - London Market Collection paper. Cut the roses & placed it at the corner.
3. Sticker shiny stone as an embellishment.
4. Distress ink - Aged Mahogany. Distress at the border & leaving center white.


Loving it, right?

Below is my earlier project which I did on 27 Nov 2012.

I arrange the quilled flower around the corner of photo frame. I did use some scrap which is my earring as an embellishment. I also added a lady bird to make it more lovely.


My graduation day!
 

Thank you.

DIY: Quilling - Beehive Quilling

DIY: Qulling - Malaysian Flower

Hi everyone

I have been into quilling these days.
Crazy quilling for Malaysian Flower & still improving in my quilling skills.


Here is the tutorial I found from youtube.
Written tutorial can be found in these links.

1. http://azlina-lin.blogspot.com/2011/11/malaysian-flower.html
2. http://myquillingsoul.blogspot.com/2010/10/q008-nyuumy-flower.html

Have fun!


Saturday, December 22, 2012

Creating Your Own Collage Board

It's 22nd December 2012 today in Malaysia. Writing this post at 2p.m. time.

Okay, whether it is a myth or whatever it is, we survived right? Life still need to goes on.

A friend of mine asked us to plan a head of something. Yes, it is true that we needs to plan something whether we will achieve it or not in a later day. It is good if we plan for a short term or long term, i.e. 3 to 5 years time.

Today, I am posting about making your own collage board.
Well, of course the following contents was not written by me but I extracted from one of the website I found.

As for myself, I have planned for what I want but there is no harm to try the another steps. Have fun!

Make a Collage Vision Board
(extracted from http://www.invisibleheartstrings.com/make-a-collage-vision-board/)


Make a collage vision board is the Creative Experience for today. Many people use visualization to create what they want. But visualization is all in your head.  When you make a collage of what you want, you are actually tapping into the way your brain works. Research has found that the brain thinks in images first and words second. So making a visual representation will speed up the process.

If You Know What You Want
The first thing I like to do when I make a collage is journal my intention. I like to write out my visualization. I visualize my perfect day where I already have everything I want. And I use all my senses to ‘experience’ that day. Check out my post Manifesting Abundance on how to write out your intention. I look at the journaling of intention as the road map to making your vision board. Now I have framework for the images I want.

If You Don’t Know What You Want
I’ve also used this process for discovering what I want. When I got fed up at my last job and quit, I wasn’t sure what I really wanted to do. So I wanted to make a collage as a tool for discovery. In this case, I didn’t do the journaling first.

Tools You’ll Need
  • 18 x 24 piece of paper or poster board (larger is better, you can always make it smaller)
  • stack of magazines
  • glue stick
  • scissors
  • markers, paints and/or colored pencils
  • some “me” time
The Creative Experience
Close your eyes and take a deep breath. Relax your body. Roll your head around to release the tension in your neck and shoulders. Take another deep breath. Feel your body sitting in the chair. Now, think about what you want, or open yourself to the possibility of what you want. Spend about 5 minutes.
Then open your eyes and start looking for images and words that appeal to you. Don’t think too much. Try to work intuitively. If you like an image or word, tear it out. YES, TEAR IT OUT. You can trim later. But tearing is a whole lot of fun. Keep working til you have a large stack of images and words.

Make a Collage
Remember, there is no wrong way to do this. Don’t trim yet. Start playing with the images and words. Group them together. Trust your intuition. As you keep moving them around, they will find their own space.
Maybe the images will all touch each other. Maybe there will be space between them. Remember, this isn’t so much about the end product… it’s about what these images mean to you.
When you are happy with the layout, start gluing them to the page. Once you’re finished, you may want to add paint or marker. Maybe not.

Process
Once you are finished, spend some time with your vision board. You may want to do a little journaling afterward. The most important thing is to LOOK AT IT EVERY DAY. You need to spend some time with it. I promise you, if you spend time with it every day for 30 days, you’ll be amazed at the transformation in your life.
And don’t be afraid to make a collage that focuses on one specific area of your life. You can use this vision board process to create anything you want.

Sunday, October 14, 2012

Fabric Roses - Roses are women's best friends

Roses, roses.

Roses are women's best friends. Would you agree with me?

Today, I would like to share with you about handmade roses using fabrics.

During my secondary school, I make miniature roses using ribbon for one of my project in school. The subject name was "Kemahiran Hidup Elektif 2" where our teacher taught us for the following subjects -  electronic, wood, cooking & sewing.

The technique I used was folded ribbon roses.
The ribbon width I used was about 0.5cm or lesser. After the rose was shaped, I stitched using thread & used some white lace as bottom.(P/s: I do not have the photos of it as it was a project I did for approx. 15 years ago)


Now, I made roses using fabric. It gives more width & you can even made bigger petals.
I made these roses because I need to upcycle one of my dress. I am still working on it & shall post the upcycle dress once I have done.

I have been surfing the Internet for "handmade roses or handmade fabric roses". Guess what?! Wow! There are so many tutorials over the Internet & you can get handful information with photos tutorial from these lovely crafters.

Here is my handmade fabric roses which I combined a few techniques I learnt over the Internet.
Note: There are always failure during the making process. You will always need to practice to make it perfect or to achieve on how you want it looks like.

4th roses. Used gold button to give a maturity looks.


1st & 2nd roses. Used glass pearl to give vintage looks.

What about my 3rd roses? I ruined it as it does not come out with what I expected. So I need to remake it.


Here is the list of the links for you to learn about handmade fabric/ribbon roses.
1. http://duhbe.com/blog/2010/03/a-list-of-11-rose-making-tutorials/
2. http://ilove2create.blogspot.com/2007/09/tutorial-fabric-rose.html
3. http://whathappensnext.typepad.com/what_happens_next/2011/03/fabric-rose-tutorial.html
4. http://www.cluckclucksew.com/2010/05/tutorial-scrappy-strip-rose.html
5. http://calamitykim.typepad.com/calamity_kim/2009/05/how-to-make-fold-twist-fabric-flowers.html

Thank you for visiting my humble blog. Feel free to comment.

Stay tuned.

Wednesday, October 10, 2012

Designer Team - PCMC - October'12 Monthly Challenge: Anything Goes

Hi everyone

Have you visit our monthly challenge blog? Visit Paper Craft MY Challenge.

I am so happy that our first monthly challenge theme was announced yesterday night at Paper Craft MY Challenge.


Me (yes, it's me, Eva) is the host for this month challenge and the challenge theme is…

“Anything Goes”

Since this is our first challenge theme & newly launched of our monthly challenge blog, the we have decided that you can include ANYTHING in your paper crafts project as long there is paper being used.


Here is my inspiration card for "Anything Goes".


Note: Challenge ends 31st October 2012 at 23:59 (GMT+8; Malaysia Time)

Inspired? Don't wait. Create your creation & submit at Paper Craft MY Challenge & stand a chance to win a set of ribbons & sliders when you submitted your creation.

Card recipe:
1. Papers & card stock from local stationery shop.
2. Doily paper from local bakery shop or hypermarket.
3. Embellishment - pearl sticker, paper flowers & brad.
4. Glitter glue on stamped image.
5. Paper punches using MS Doily Lace.
6. Distress ink from Ranger distress ink - Walnut stain & Antique Linen. Distress the edges of the papers.
7. Clear stamp images.
8. Colored using Faber Castell watercolour pencil on stamped image.

Thank you for visiting my humble blog. Do follow us at Paper Craft MY Challenge or perhaps follow my blog too to keep in touch / further update.

Sunday, October 7, 2012

It's Official: Paper Craft MY Challenge

Hi everyone

Good morning!

I would like to inform you that my friends & myself have a new monthly challenge platform for paper crafts making. It is open to worldwide too. Everyone can participate in the monthly challenge blog.

Visit Paper Craft My Challenge: http://papercraftmychallenge.blogspot.com/

Please help to us to spread some words & follow us.

Thanks for you support.
Stay tuned for our first monthly challenge blog.

Saturday, October 6, 2012

Annoucement? It is my twice experience of...

Hi everyone

How are you? I am doing fine & sorry that I have been missing in these 1 month plus.

I have been busy with something important & it is still in process.
Did you saw the badge on my right side of blog? Paper Craft My Challenge - a monthly challenge blog. Do follow & support us.

--------------------------------------------------------------

This year, I participated 2nd time in flea market.

The first one was at Handmade market, Armenian Street, Georgetown, Penang. (in short HMM)
It was a great experience to participate in flea market which located not in KL but Penang. I had a fun time with ACG members where all of us rent a bus all the way up to Penang.

Some of the photos taken during the HMM @ Penang.
(Photo source: Some are from ACG member, GTF facebook & mine)


Just arrive at Penang & taken at Chulia Heritage Hotel.


 My booth. Everything is in order. ^_^
 
The crowd during the evening time inside Yap Temple Hall.

The crowd during the night time inside Yap Temple Hall.

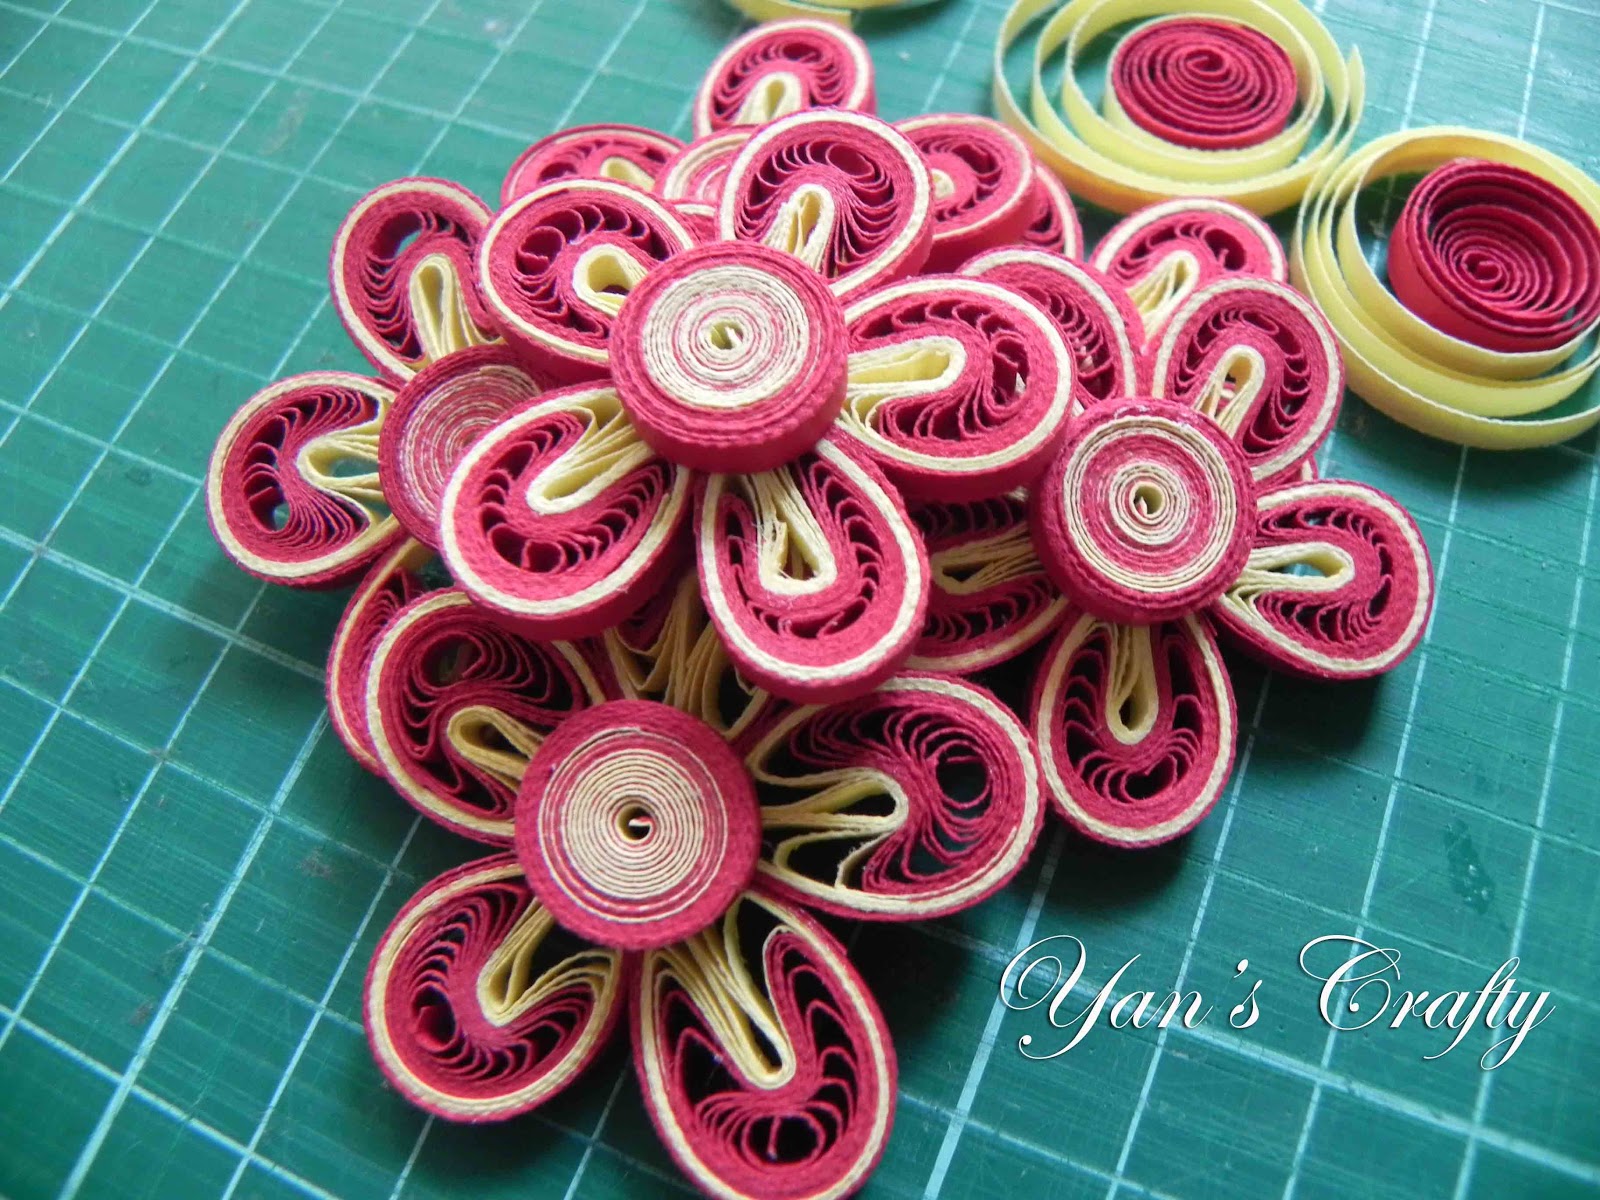
 Rosette flower using MS punch. This is my giveaway to children who drop by my booth. Even the teenager & adults loves it. They did get it. ^_^

  
Group photo of ACG member before we leave the hotel on 2nd day. 

--------------------------------------------------------------

The 2nd flea market I participated are Gila-Gila Seni Carnival at Metro Point Kajang for 2 days. This event was organized by Art & Design dept., New Era College in conjunction with their 10 years anniversary. I was so blessed that I met with Raha (event coordinator) & her students. This is also my first time to have such a good experience & nice atmo as they provided a wood hanger (partition), table, cloth and handmade banner.
 
Some of the photos taken during the HMM @ Penang.
(Photo source: Some are from NEC facebook, Saza (shareyourlovewithcards) & mine)

 Customer was asking about some of my handmade stuffs. They are from New Era College.

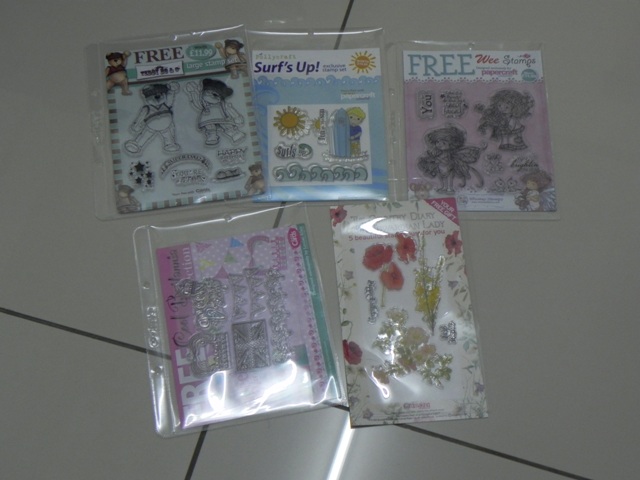
All my handmade cards.

A view of my hand embroidered piece.

My handmade beaded & wired jewelries & accessories.

A view of my booth.

This is the handmade banner by New Era College student. Love it.


This is the partition I mention earlier. I displayed some of my handmade cards.


Me & Saza from shareyourlovewithcards.

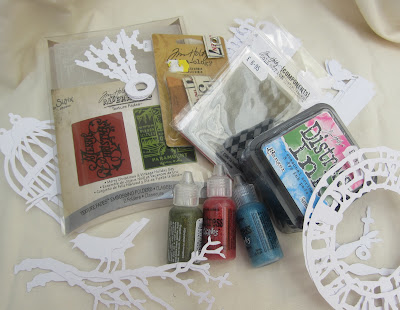
This is the items (banner, pottery & Thank You letter) which I received from New Era College.

That is all about my flea market experience so far for the year 2012. 

(p/s: I was inactive earlier due to I have Degree studies to complete & I had graduated in Apr 2012.)

Friday, August 31, 2012

CCCB 124 - Bake Sale


Entering another challenge organized by CCCB.
This week - Bake Sale.

The hints are.....
(extracted from CCCB blog)

----------------------------------------------------------
The challenge is to include any baking images, such as cakes, cupcakes, or you can make a recipe card, recipe box, or any home-bake item decorated with pretty paper, or even anything related to baking, sounds fun? Then let's get started!

~ Kirsty Vittetoe

Week 124 ~ Bake Sale


----------------------------------------------------------

Baking, cupcakes, .... Something I love to do when I totally have ample of time & during the Chinese New Year. Loves to bake so much.

Here is my card design to enter this challenge.


 Front view of my card design. I made 4 small squares. Each square holding a stamped image. I coloured with FaberCastell water colour pencil. These images I used; giving an imagination of baking, offering & tasting.

This is the inside view of my card design. 3 cupcakes with hand drawn cake holder...

Card recipe:
1. Papers & card stock from local stationery shop.
2. Acid free paper.
3. Clear stamp designed by Adam Pescott.
4. Glitter glue.

Thank you for visiting my humble blog.


Cupcake 207 - Flowers

Cupcake Craft challenge for this week is about Flowers.

Here is the rule:
(extracted from their blog)

--------------------------------------------------------------

Now pay attention peeps! Your image needs to include some kind of flower. We will not be accepting entries that simply have floral paper or some flower embellies! ;)

--------------------------------------------------------------

Luckily enough that I have a clear stamp (I forget which paper craft magazine I get from) where a girl holding a bunch of flowers.

Here is my design to enter this challenge.

A view of my entire card. When I think about flowers, it comes to my mind about girls. So, I wanted to have something red & purple in my card design. Mix & match with embellishment & flower pattern papers, it turns out to be a simple & nice. ^_^


A nearer view of the image. I know that sometimes I have been neglecting my blog post but I was busy coloring some images.... This is one of the image I colored. Nicely stamped & colored. I have been using Luna Aquarrel water color pencil but this image I used the FaberCastell water color pencil. Love it too. Some of the color from FaberCastell are totally pastel in color when your medium mixed with water.

In this Happy Birthday sentiments, the words are heat embossed. It is hardly to see the embossed word here. I added a little bit of color from Sharpie permanent marker. Added some glitters on the stamped image & roses.

Here is my card recipes:

1. Paper & card stock from local stationery shop.
2. Docrafts – Spring Time acid free paper.
3. Doily lace from local store.
4. Distress ink from Ranger distress ink – Aged Mahogany.
5. Glitter glue.
6.  Paper roses from local store. 

Thanks for viewing my design.

Monday, August 27, 2012

Spots or Stripes – Lili’s Little Fairies Challenge


Yup, I made another card to enter a new challenge.
This round, Lili’s Little Fairies challenge is about Spotsor Stripes.

I choose the stripes & here is my card design.


Below is the nearer view of the image. I put on glitter glue on the wings & flowers.


Recipes:
1. Paper & card stock from local stationery shop.
2. Acid free paper.
3. Distress ink from Ranger distress ink – Aged Mahogany.
4. MS clear stamp – stamped on acid free paper.
5. Glitter glue.

Tuesday, August 21, 2012

Flora Fantasies Blog Candy

Another blog candy from Floral Fantasies.

I wish I can get these candies to add into my craft collection. Aww.. aren't they look fabulous?


Closing is on August, 31.

Craftymonster81 Blog Candy

Another blog candy from Craftymonster81. Happy Birthday in advance, Lindsay!.

I wish I can get one of these candies - there is 3 candies available for 3 lucky winners.


I just pick one of the candies photo here.. This for for Candy # 2. I loves it so much.

Closing for this candy is until October, 15th.

Pinkpuds's blog candy

Another blog candy from Mina (Pinkpuds).

I hope I can win this Tilda with her kookaburra stamp.


Join her blog candy & it's due on Aug, 25.

Bearly Mine Crafts Candy Blog

Wow, I found another blog candy.

This round Donna has a blog candy to give away. It's nice & awesome. I wish I can win it.

Check it out at Donna's blog.


Durvina's Candy Time

It's candy time from Durvina.

Durvina's blog is having a blog giveaway as she has reaches 600 followers & in conjunction with her birthday on August, 23. Happy Birthday, Durvina!

There is ruling for this candy, do check her blog.


Candy is run until September, 3rd.

Don't miss the fun!

Scrap booking using Canvas

Yesterday I managed to made another scrap book.

However, this round I made it by using canvas board for oil / acrylic painting & I loves the outcome.

My scrap book canvas design is as below.


I used a canvas board (140x180mm). I color the canvas edge using Distress ink from Ranger distress ink - Walnut Stain.

Left side of canvas board:
1. Punch paper (white paper acid free paper for graphic designer use): MS Punches - Cherish & Ranger distress ink - Aged Mahogany.
2. Pearls
3. Roses: added some glitter glue
4. Swirl: Die cuts (forget which co. as I went to a craft lesson with free flow embellishments)


Right side of canvas board:
1. Punch pattern paper: 7gypies (Fluer De Lys), MS Punches - Doily & Ranger distress ink - Aged Mahogany.
2. Cut out a pattern paper: Webster's Pages (Western Romance: Sweet Romance)

 Nearer view of the glittered roses and a look of myself. (^_^)

Nearer view of the sentiments from Kaiser & stamped on Docrafts (Spring Time). The paper edge was colored with Ranger distress ink - Walnut Stain & added glitter glue.

I choose "a journey of a thousand miles begins with a single step" as my self portrait sentiment because this is my first time to go for photo shooting. I have been wonder how would I look like for a real photo shooting & I was satisfied with the outcome after all the posing instructed by the photographer. I really thank to the photographer because he managed to capture the photos scene that I really want. (perhaps because of my dresses then he managed to get the idea.. hahaha)

That's all for now. Stay tuned.

Monday, August 20, 2012

Southern Girls Challenge 51 – Chippie Heaven


I was blog hopped around for the past few days & looking for some inspirations. So many beautiful things I saw over the Internet and came across a craft challenge - about chippie challenge from Southern Girls.

They are calling new D.T. too. 

Here is my easel card design to enter this challenge.


This is the front view of my card design.
I have used Little Fairies clear stamp & colored with Luna Aquarrel watercolor pencil. Meanwhile, I have punches out a lace shape paper using Kreaxions 4-in-1 punches. In addition, I colored with distress ink for the edges.


This is the inner part of the easel card.


Closer view of the chipboard sentiment - FOR YOU Friend.


Card recipe:
1. Papers & card stock from local stationery shop.
2. Acid free pattern paper.
3. Paper punches using Kreaxions 4-in-1 punches.
4. Embellishment – chipboard sentiment.
5. Distress ink from Ranger distress ink - Aged Mahogany.
6. Glitter glue.

Thank you for visiting my humble blog.

Craft shopping day

This month I went for craft shopping & I bought a lot of things. Crafters do shop for their craft supplies. Best part of all, crafters don't felt tired to shop their goodies as things were so adorable, cute & fantastic. Do you have the same thought as me? ^_^

Just to share what I have purchased.


 Kreaxions products from Popular Book Fest 2012 at KLCC.


Bought some paper crafts magazines & they have free clear stamps. I love clear stamps. To those who wants to add collections of your clear stamps, do check from time to time at bookstores.


These craft supplies bought from Arts Friends at The Gardens, Midvalley. They have added more craft supplies there.